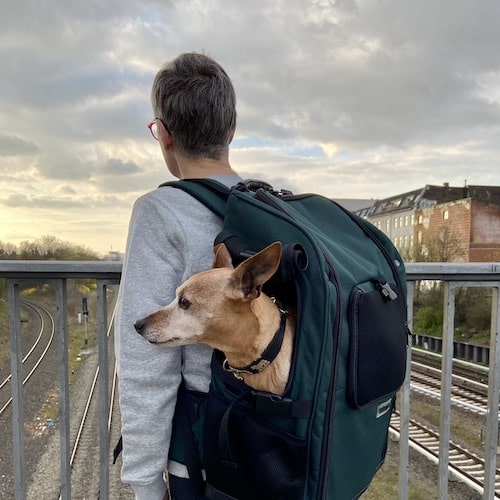
Correctly adjusting the dog carrier backpack is exceedingly important. Because it can prevent back pain, tense neck or stinging shoulder pain. We give you a few tips on the way, how you can adjust your backpack properly. So you get the maximum comfort out of your backpack!

A properly adjusted and packed backpack is easier to control. In order for you to move stably and safely with your dog in the backpack, it needs the right body center of gravity. A good sense of balance is especially important in challenging terrain. The right adjustment of your dog carrier backpack can make a big difference. The better it is adjusted to you and your pet, the easier it is for you to carry your backpack including dog, cat and co over a longer period of time.
If you’re not an experienced hiker, you’ve probably asked yourself: why do I need the buckles and straps on my backpack? With a little bit of know-how, you will find that the adjustment options can support the carrying comfort.
We’ll explain how to adjust your dog backpack correctly in just a few steps.
Adjusting the dog carrier backpack
5 simple steps
1. Loosen all straps: When trying on your backpack, make sure it is filled with a realistic weight and loosen all straps before shouldering the backpack.
2. Determine the position of the waist strap: Women place the center of the waist strap over the upper part of the pelvis. Men position the waist strap (upper edge) about 2 cm above the upper part of the hip bone. Now close and tighten – not too tight, of course. If the waist strap is too high, it will constrict the waist; if it is too low, the hip fins will rub against the thighs.
3. Adjust the shoulder straps: Tighten the shoulder straps. But not too tight, because the main load should still be borne by the hip belt. Make sure you can still comfortably extend your arms forward.
4. Adjust the chest strap: The chest strap stabilizes the shoulder straps. You can adjust the chest strap up or down, close it with a buckle and then tighten it. Make sure that your breathing is not restricted.
5. Use the load-lifter straps: Tightening the load-lifter (or sometimes called stabilizer) straps at the shoulders carries the load closer to your back and gives you more control.
Important
If you are traveling with your dog for longer periods of time, you can loosen or tighten the shoulder straps and load-lifter straps from time to time to distribute the load between the hips and shoulders and relieve both. By loosening or tightening the stabilizer straps and the shoulder straps, you can adjust the position of the pack on your back.
Also, depending on the terrain and your posture, a different setting may be more comfortable. Uphill you have a different posture than when descending or on the flat. Experiment a bit and find the right fit depending on the application.
Definitions
Shoulder straps
Each backpack has adjustable shoulder straps. Once properly adjusted, the dog backpack sits neatly on the shoulders and does not slip down.
Waist strap / hip belt
A properly adjusted hip belt takes the load off the shoulders and distributes it to the hips. Models for more carrying weight sometimes also have hip fins. The MountainRock Backpack has a hip belt, the PeakStone Backpack has hip fins.
Chest strap
The chest strap is the least important strap on your dog backpack. In the past, it helped keep shoulder straps in the correct position. Today, they are usually ergonomically designed. The chest strap should not carry any weight.
Load-lifter straps
Dog carrier backpacks for large dogs usually have load-lifter straps. You can adjust the stabilization straps on the shoulder straps (top). When they are loose, this allows for better air circulation. Fits when you’re moving in lighter terrain. When tight, they pull the load closer to your body for better control. Ideal when hiking in more difficult terrain.
Don’t forget: Tag us on your adventures! #tarigs

